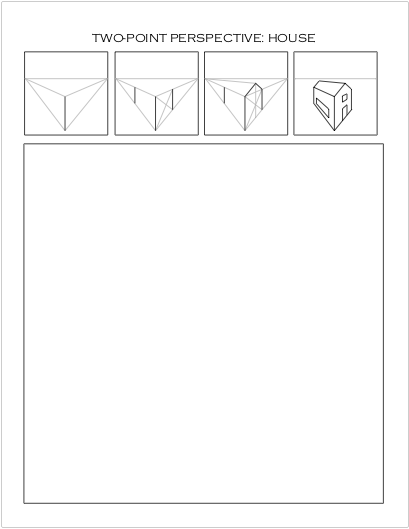
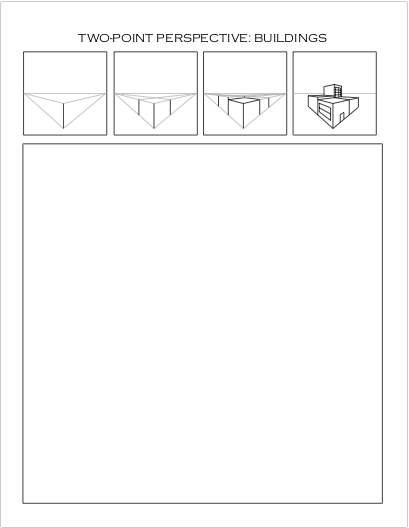
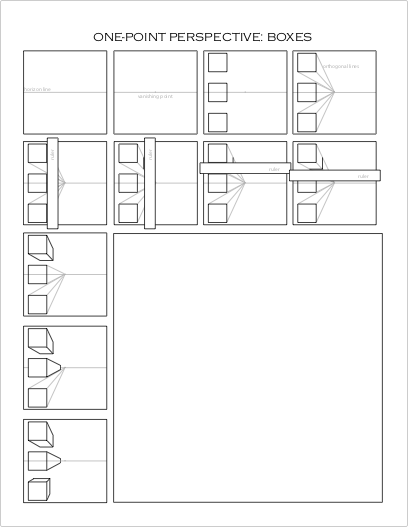
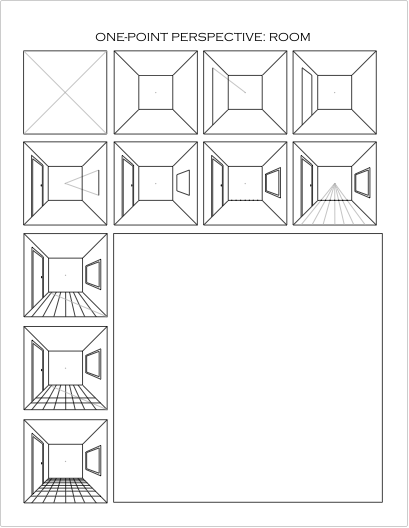
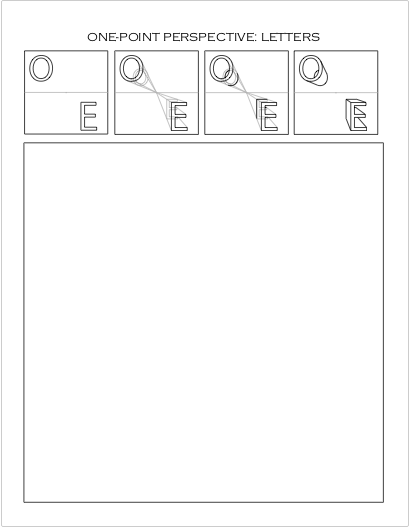
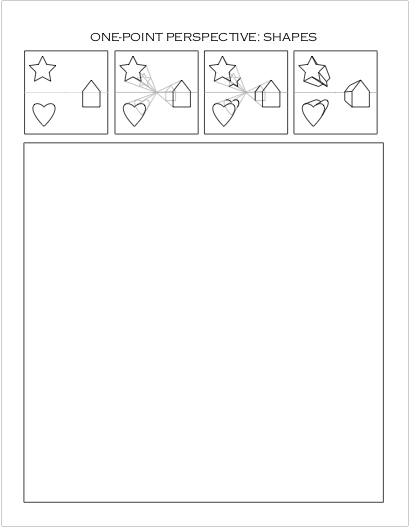
Below are worksheets I created in Adobe Illustrator for teaching one-point perspective. Walk your students through the first two (boxes and room.) Show them the techniques used since the Renaissance to create a realistic illusion of space and form.
First introduce them to the terms “horizon line”, “vanishing point” and “orthogonal line”.
- Horizon Line: The line in a perspective drawing where the sky meets the ground. It also represents the viewer’s eye level. That is, the placement of the line on the picture plane depends on the vantage point of the artist. For example, if the artist is low to the ground, the horizon line is low on the picture plane. You can see the top of an object if it is below eye level, below the horizon line. If an object is above eye level, above the horizon line, you can not see its top.
- Vanishing Point: The point on the horizon line at which lines or edges that are parallel appear to converge.
- Orthogonal Line: Literally, a line which is at right angles to another. In linear perspective drawings, it is the line you draw from the corner of an object to the vanishing point. It establishes the illusion of a perpendicular line going into the distance. Orthogonal lines should always be drawn lightly at first. Usually, most of an orthogonal will be erased.
A couple of technique details, along with further resources:
- When drawing the back edges of the boxes in the first worksheet, the artist lines the ruler up with a front edge, then slides the ruler toward the vanishing point a little ways, without twisting the ruler in any way. This is where the student draws the back edge between two orthogonal lines. Cyber Oregon Online has a great step-by-step demonstration for the teacher.
- The floor tiles in the room worksheet are especially tricky. Check out this interactive lesson from olejarz.com to see how to draw tiles in perspective (in this case, on the ceiling.) This part was the most difficult for my students to capture. If you are new to one-point perspective, I recommend starting from the beginning.
Once you walk the students through the first two worksheets below, they should be able to do the others on their own with a little guidance. Click on the images below to purchase individual PDFs for 99 cents each.
Going through all four worksheets took me two class periods of 50 minutes each.
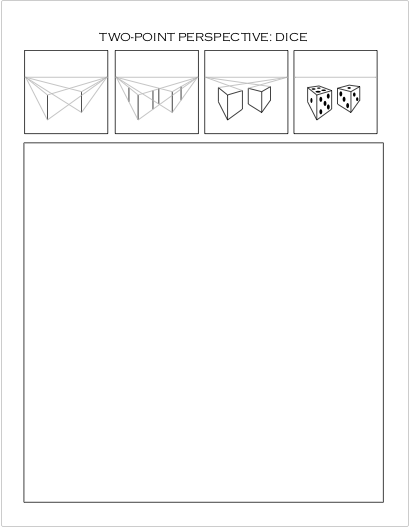
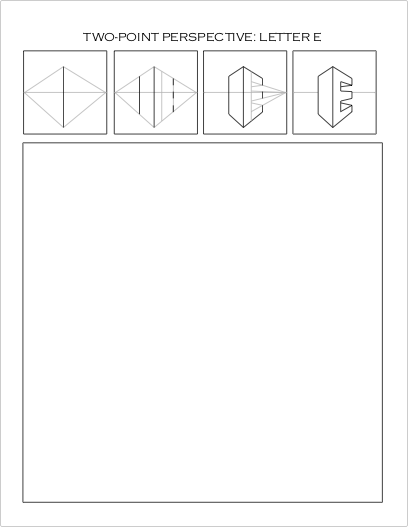
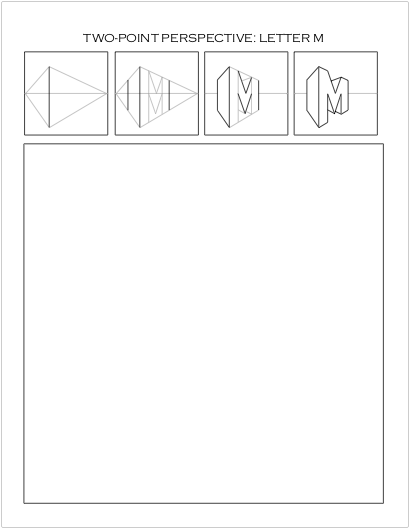
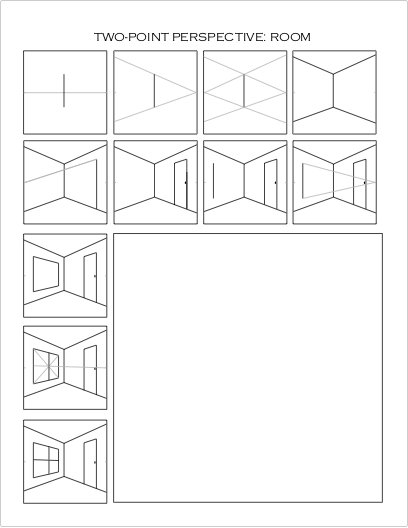
If afterwards you want to move on to two-point perspective, check out my two-point perspective worksheets.
Best Value: Drawing Perspective 11-Worksheet Bundle


